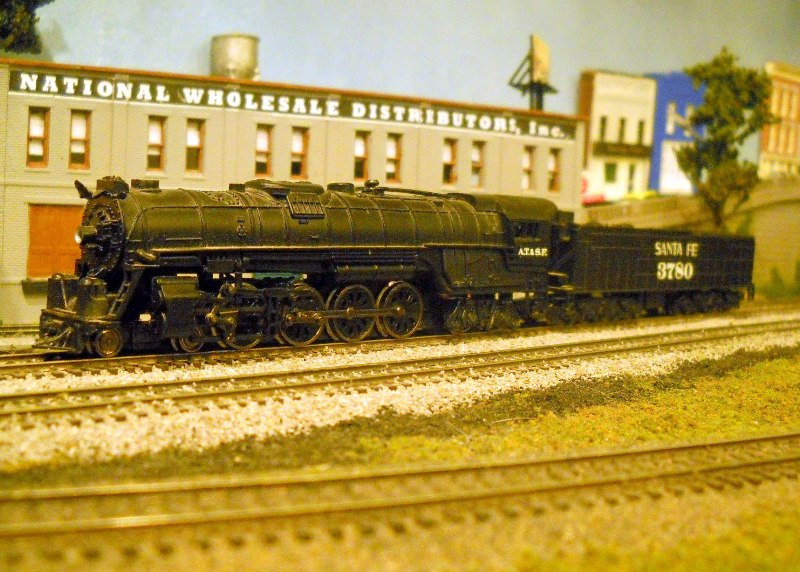
Here's the beast we're going to try to create.
And here's the model we're starting with:
It's the newest version with the smoother drive and blackened hardware. The shell, on the other hand, is the same old same old that's been produced since the late 60's, replete with cast on everything, and a rectangular boiler profile below the belt line. I'm going to see how these problems might be fixed.
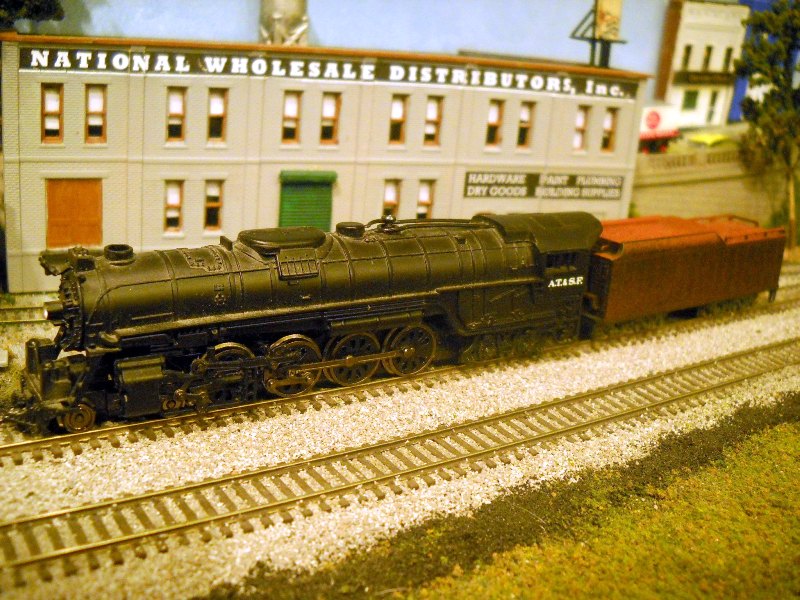
The first step is to lose the oil bunker. I had picked up an old Rivarossi Berkshire tender in anticipation of this project last year. I went ahead and painted the top of the tender Oxide Red, but left it there. I'll need to have some decals made to properly finish it.
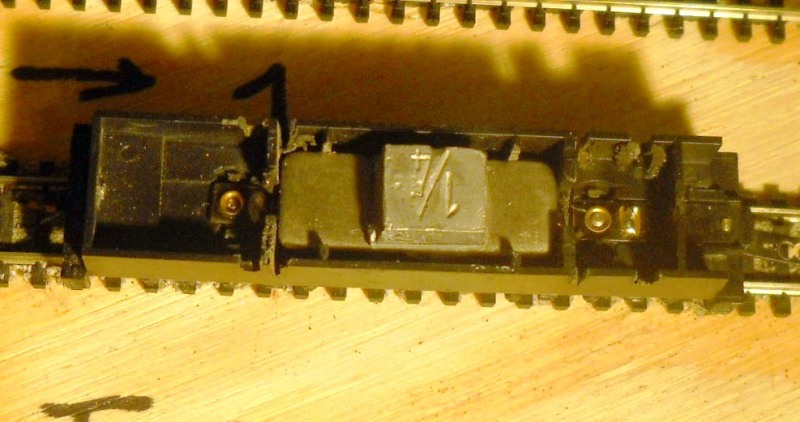
I've prepped the tender to handle DCC, adding wipers to the trucks, and cutting down the frame to make room for the decoder. There looks to be room for a sound chip and a speaker, which I might add down the road.
The drive looks to be pretty easy to convert, with friction tabs being the only connection between the motor and the frame. These can be easily insulated to allow for separate connections to the decoder. I'll need to dig a trench up the spine of the frame to get the lighting wires installed, but that shouldn't be a big deal.
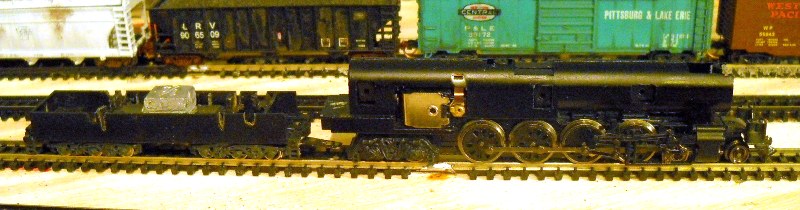
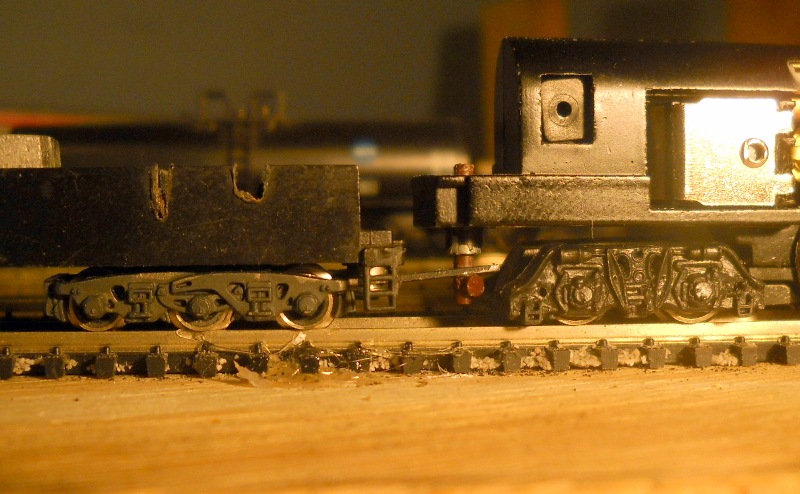
The other modification I made was to the drawbar on the tender. I had to cut it back a bit, and drill some new holes to bring the spacing between the engine and tender to a more realistic dimension.

I drilled two holes in the metal Rivarossi drawbar to be able to adjust the coupling distance. The shorter hole turned out to work fine with the 15" minimum main line curve on the layout, so that will be the permanent setting when I get to that point.
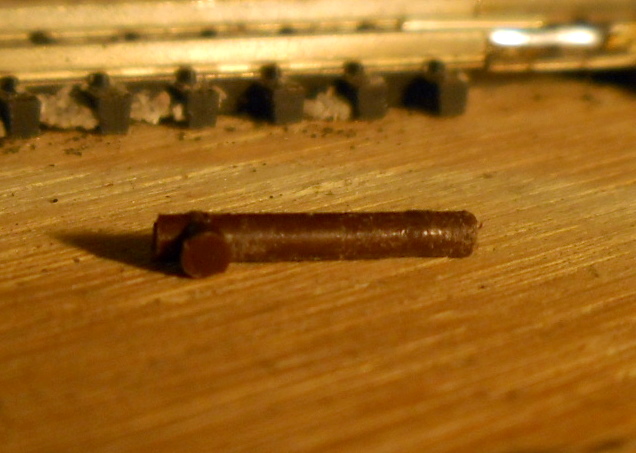
After drilling out the draw bar, I fabricated a new pin from a bit of sprue left over from a pack of MT 1015 couplers. I trimmed off the smaller arms, and filed the shaft smooth. It fits snugly into the hole left by the stock pin, with the drawbar resting on the tab that I left in place. Once the painting and other body work is done, I'll use a soldering pencil to melt a "rivet" on the top of the pin to secure it permanently to the engine.

Here's the engineer's side renovation plan. I want to get brass overlays etched to simulate the all-weather cab, and I'll have to rework the walk board into a single level from front to back. The ladders will also have to be modified, and I want to add new separately applied grabs down the length of the boiler. On the front of the smoke box, I'll need to relocate the headlight to the top of the box, and move the bell over to the right. The rest of the modifications will be on the pilot, similar to the 2-8-0 with the addition of a Z scale 905 coupler and a plow, plus a few other details.
The next step will be wiring in the decoder... as soon as I can get my hands on one!
See you next time.
No comments:
Post a Comment